Who doesn’t love a stylish image of a classic car? Think James bond, 1960’s Monte-Carlo Porsche 356…. Yes I’m dreaming! For those of you who you are fortunate enough to have your dream ride caringly tucked away in the garage, now is the time to get it out and show it off and what better way than with some awesome photos. You’ve taken a few shots with your smartphone, but it just doesn’t do it justice. The glare from the sun is blinding, the colour appears to be a different shade and it’s lost against the background.
You don’t have to know everything about photography but taking a few moments to step back and consider lighting, composition, background, angles, can make all the difference. With this in mind, I’ve compiled a handy list of Go-to’s to help capture your love in all its glory.
1. Tools
As a photographer naturally I use a DSLR camera on all my shoots. If you do have a good camera the results will always be a step up from your smartphone. But these handy tips can be applied to both.
2. Light
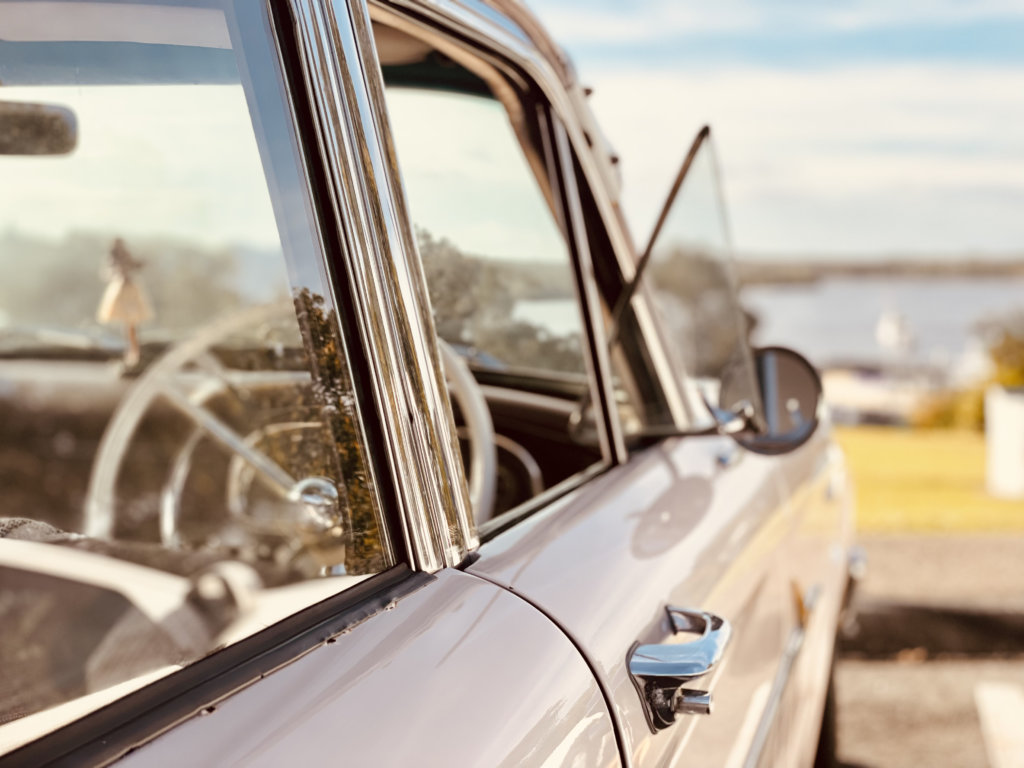
First, and I believe one of the most important factors to consider for any shoot, is the lighting. The optimum time of day to shoot would be during the golden hour, this is the hour after sunrise and the hour before sunset. This light is so much more forgiving and softer. It also allows you to show off the details of the car without battling against any overexposed, super highlighted, glare spots.
3. Position
Your position when taking your photos makes a huge difference to the result. The key is to go high or go low. Looking down from just above standing height or from an elevated position to give an almost birds-eye view can make for a great shot. Try to place yourself at an angle that lets you capture the entire length of the car or place the car on a diagonal. Next, shift your position to the height of the bonnet. Avoid shooting at eye-level, this doesn’t make for the best results. And remember …. Always keep safety in mind.
4. Details and interiors
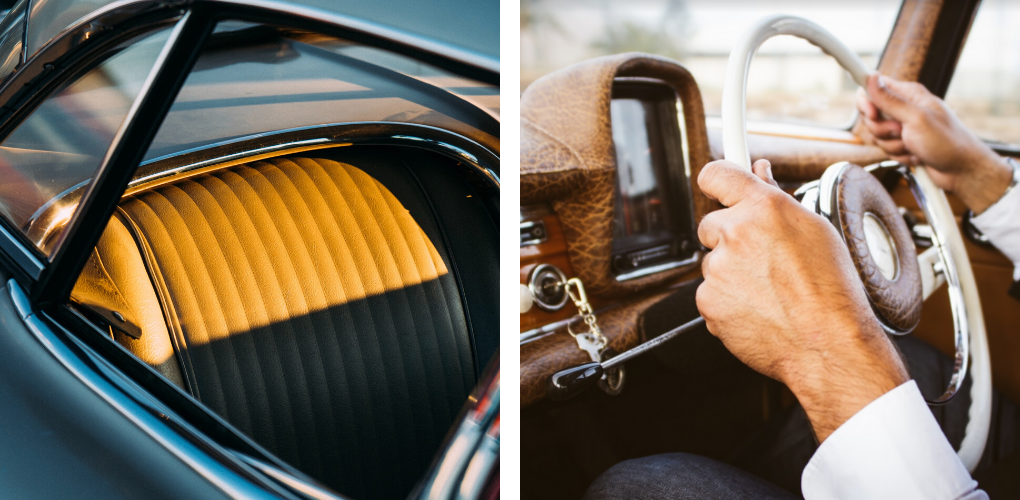
You don’t want to capture the whole car in every shot. Get in tight or down low capturing just an element of the car can make for eye-catching images, and don’t forget what hides beyond that shiny metallic exterior. It is the quirky details of a vintage car that can truly differentiate from its modern counterparts. You may be lucky enough to have genuine leather upholstery or a beautifully finished old skool original dash and door cards. Avoid using a flash, especially if the interior has a shiny finish. This will reflect the flash causing a yellow globe in your image and distort the original colours.
6. Composition
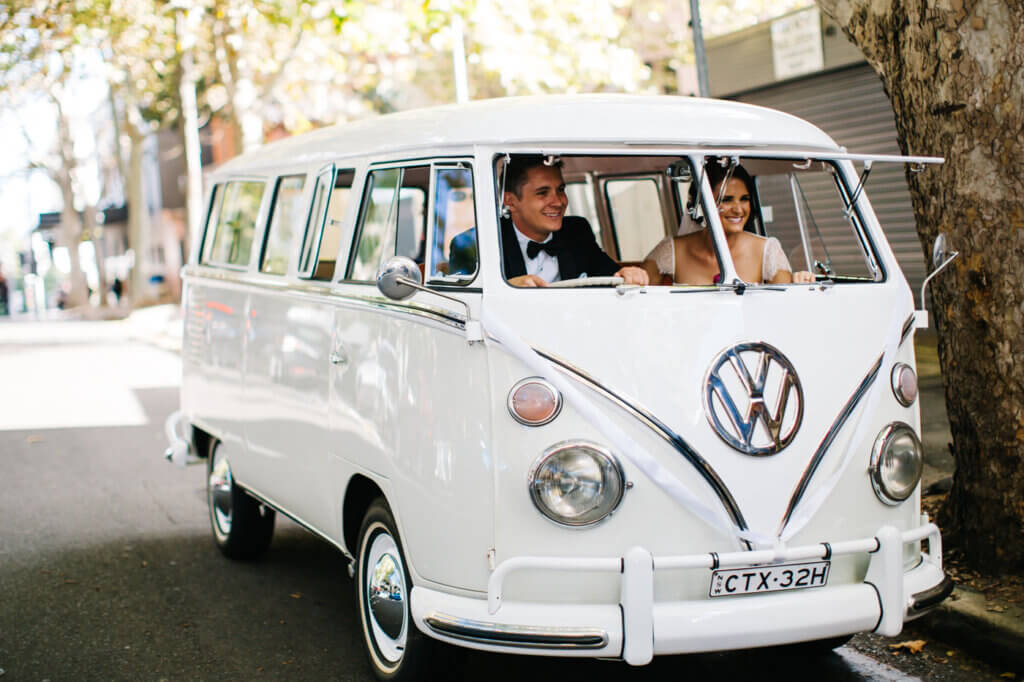
This is where you can really let your creative flair go wild. The obvious side-of-the-road shot is fine and in most cases shows off your car perfectly. However, thinking outside of the box, or road in this case, can make for some show-stopping images. Use your backdrop to tell the story. Think Trees, nature, a scenic lookout, the mountains, an industrial building and popular or recognisable tourist spots. Use the backdrop to tell or create a story. Don’t be afraid to try something different, dark and edgy, moody, fun and free. Another tip: Turning the headlights on can make for a stronger image.
7. Editing
You may want to consider taking your images that step further. You don’t have to dive straight into Photoshop. There are gentler programmes and Apps you can download to enhance your images. Most images you see online these days will probably have a filter or some ‘tweaking’ to make it stand out in the crowd. Shop around and find one that suits your needs. There are plenty of free Apps that will offer basic adjustments.
Written by Australia-based photographer Emma Bourne.